お問い合わせ
ダウンロード
マニュアル、データシート、ソフトウェアなどのダウンロード:
フィードバック
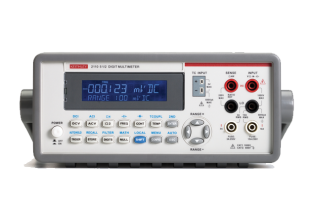
ベンチトップデジタルマルチメーター (DMM)
用途に最適な卓上型デジタルマルチメーター(DMM)をお選びください。
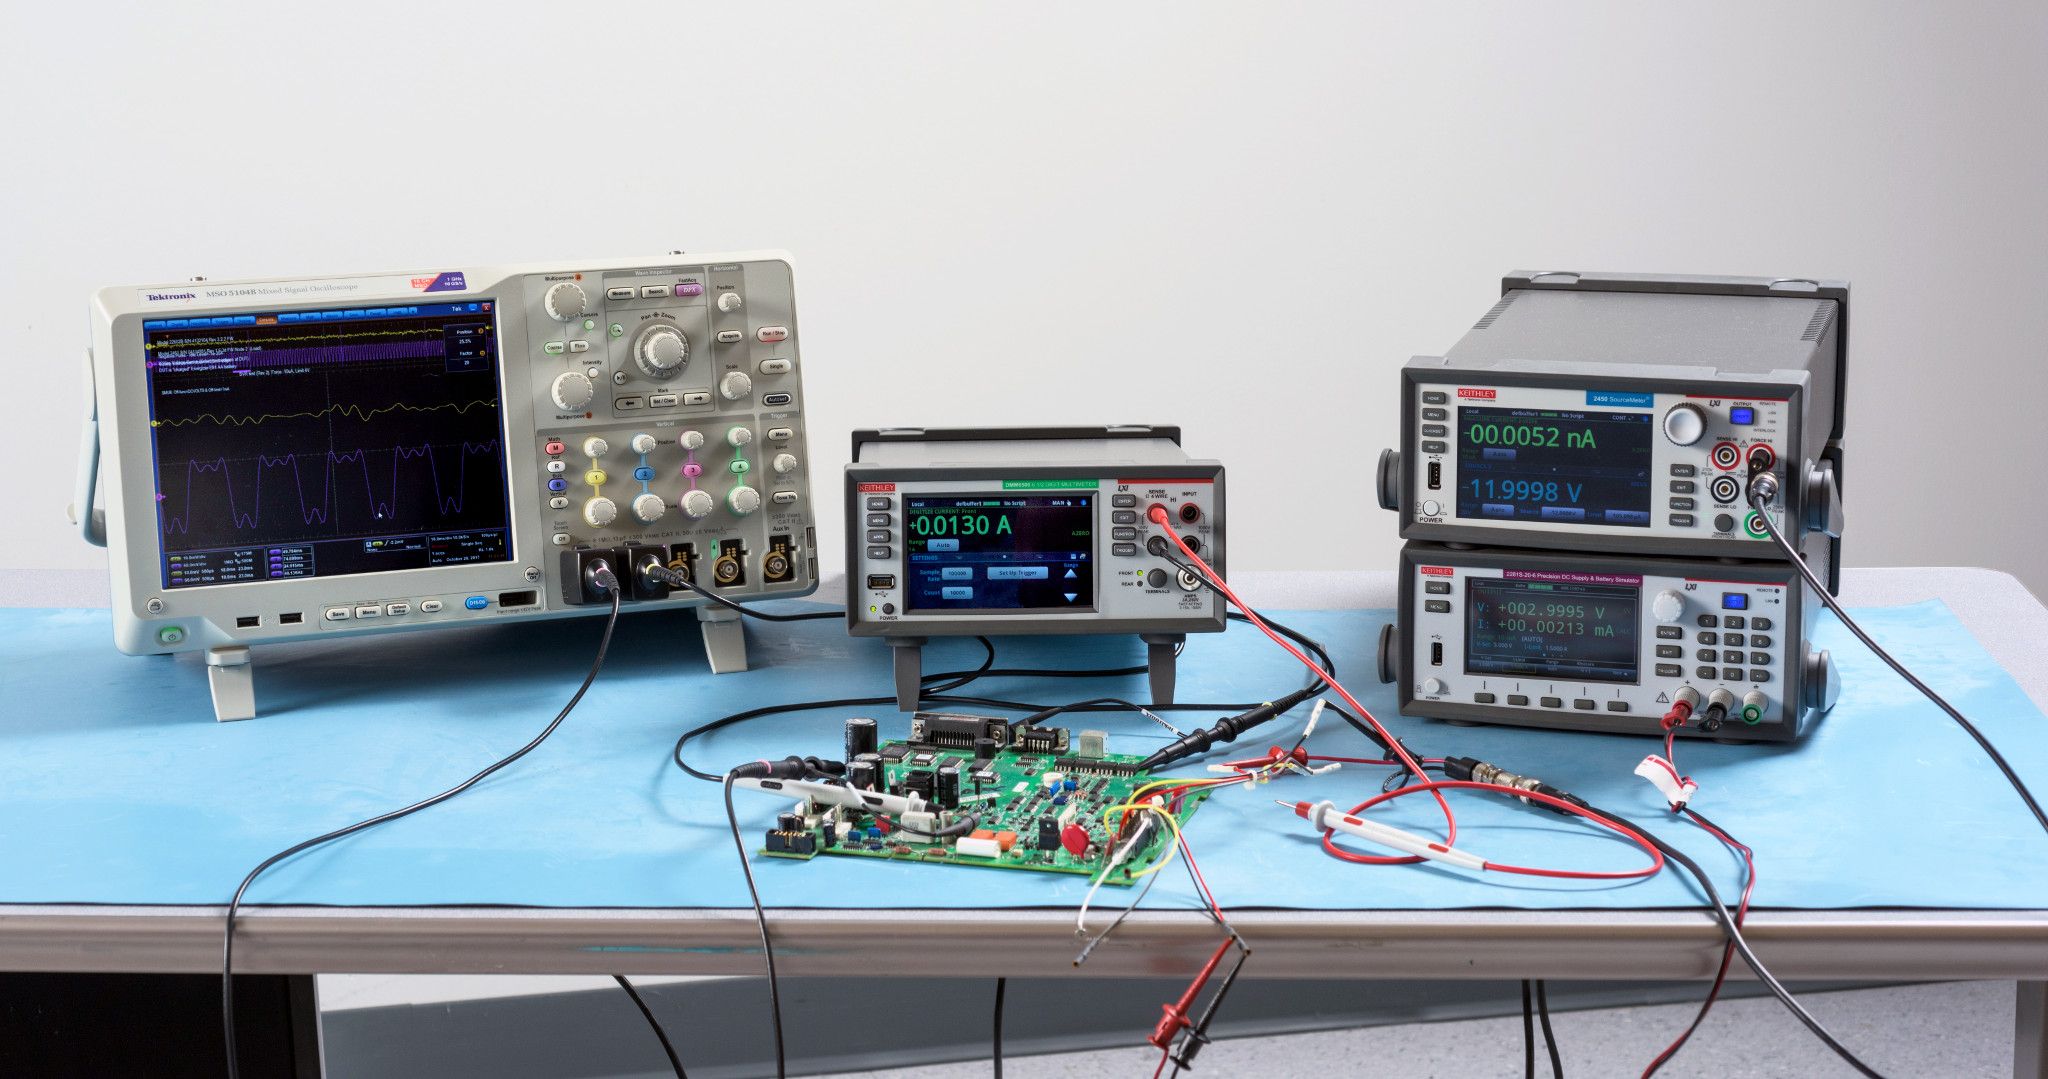
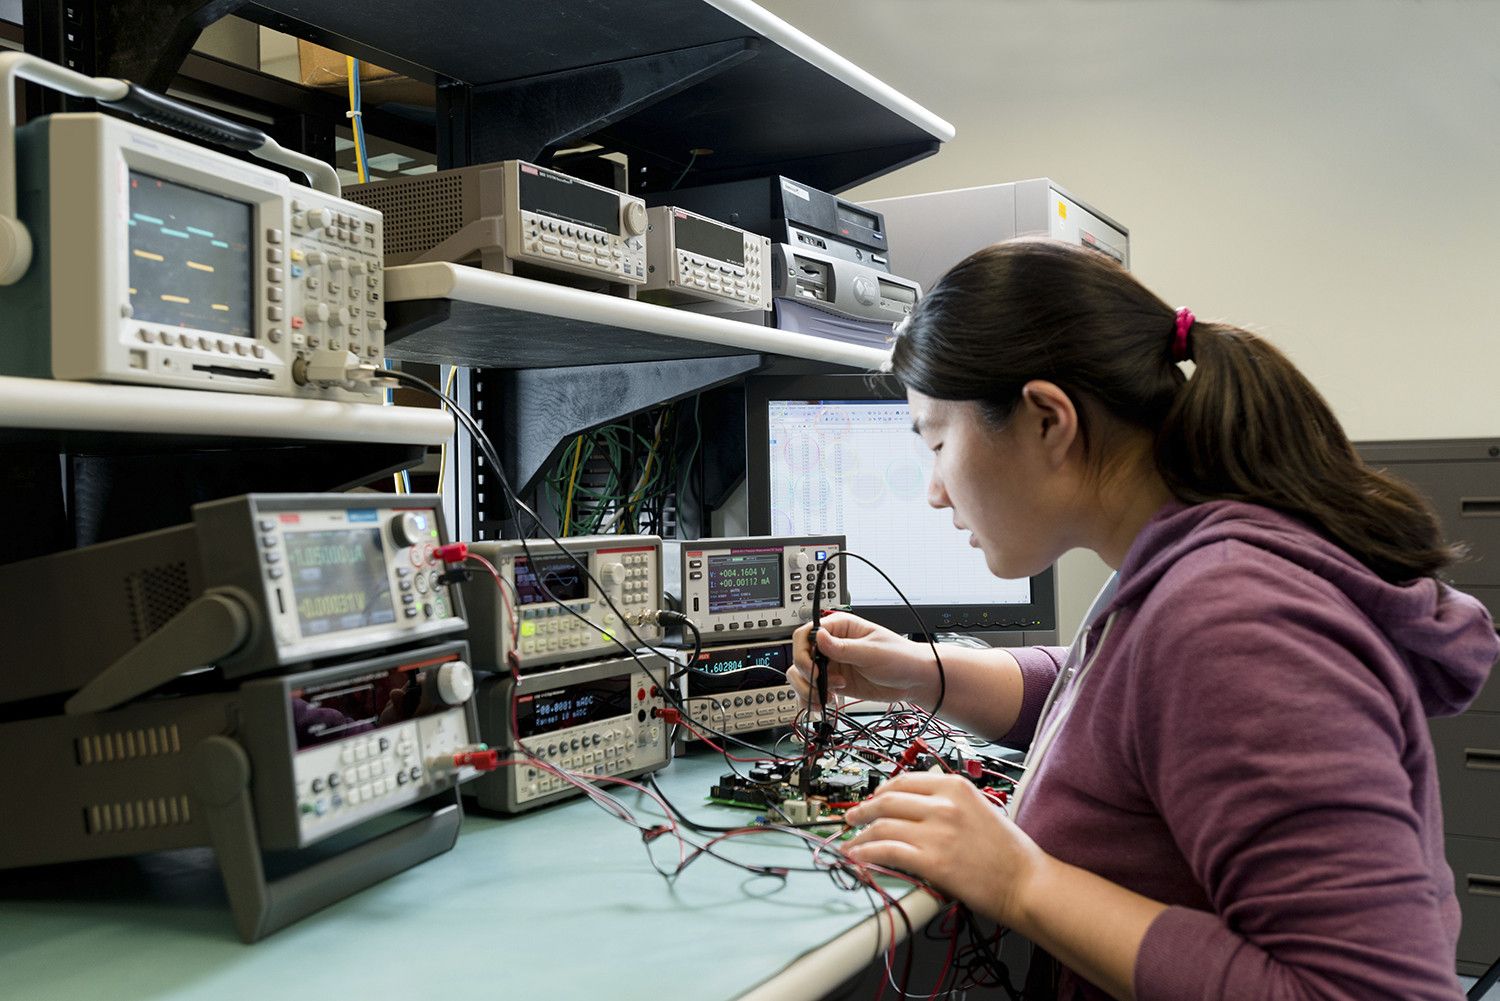
キースリーは最も幅広いシステムを提供していますまた、あらゆる測定ニーズに対応する卓上型デジタルマルチメータも取り揃えています。このデジタルマルチメーター(DMM)シリーズは、基本的なDMMを必要とする学生実験室のニーズと、部品、モジュール、および組立製品の製造テスト用の高速かつ高精度なDMMのニーズに対応します。
あなたに最適なデジタルマルチメータはどれですか?
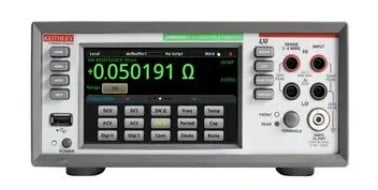
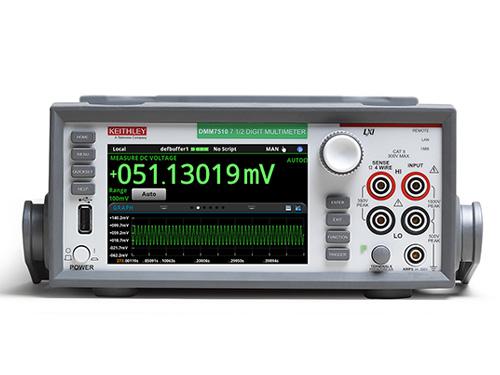
精密シリーズ
プレシジョンシリーズは、データ収集から分析への移行を効率化するタッチスクリーンインターフェースが特徴のハイエンドデジタルマルチメータです。このシリーズは高精度と高速性を兼ね備えており、その代表例がDMM7510モデルです。このモデルは、市場で最も高精度な7.5桁デジタルマルチメーターの一つとして際立っています。精密かつ迅速な測定を必要とする作業に最適で、高度な科学技術用途において最良の選択肢となります。
Instrumentation Series
The Instrumentation Series of digital multimeters focuses on providing the fundamentals of test and measurement with trustworthy results. These multimeters are reliable and easy to use, making them perfect for standard day-to-day measurement tasks. They offer a solid balance between performance and affordability, suitable for educational purposes, general electronic troubleshooting, and basic industrial applications.

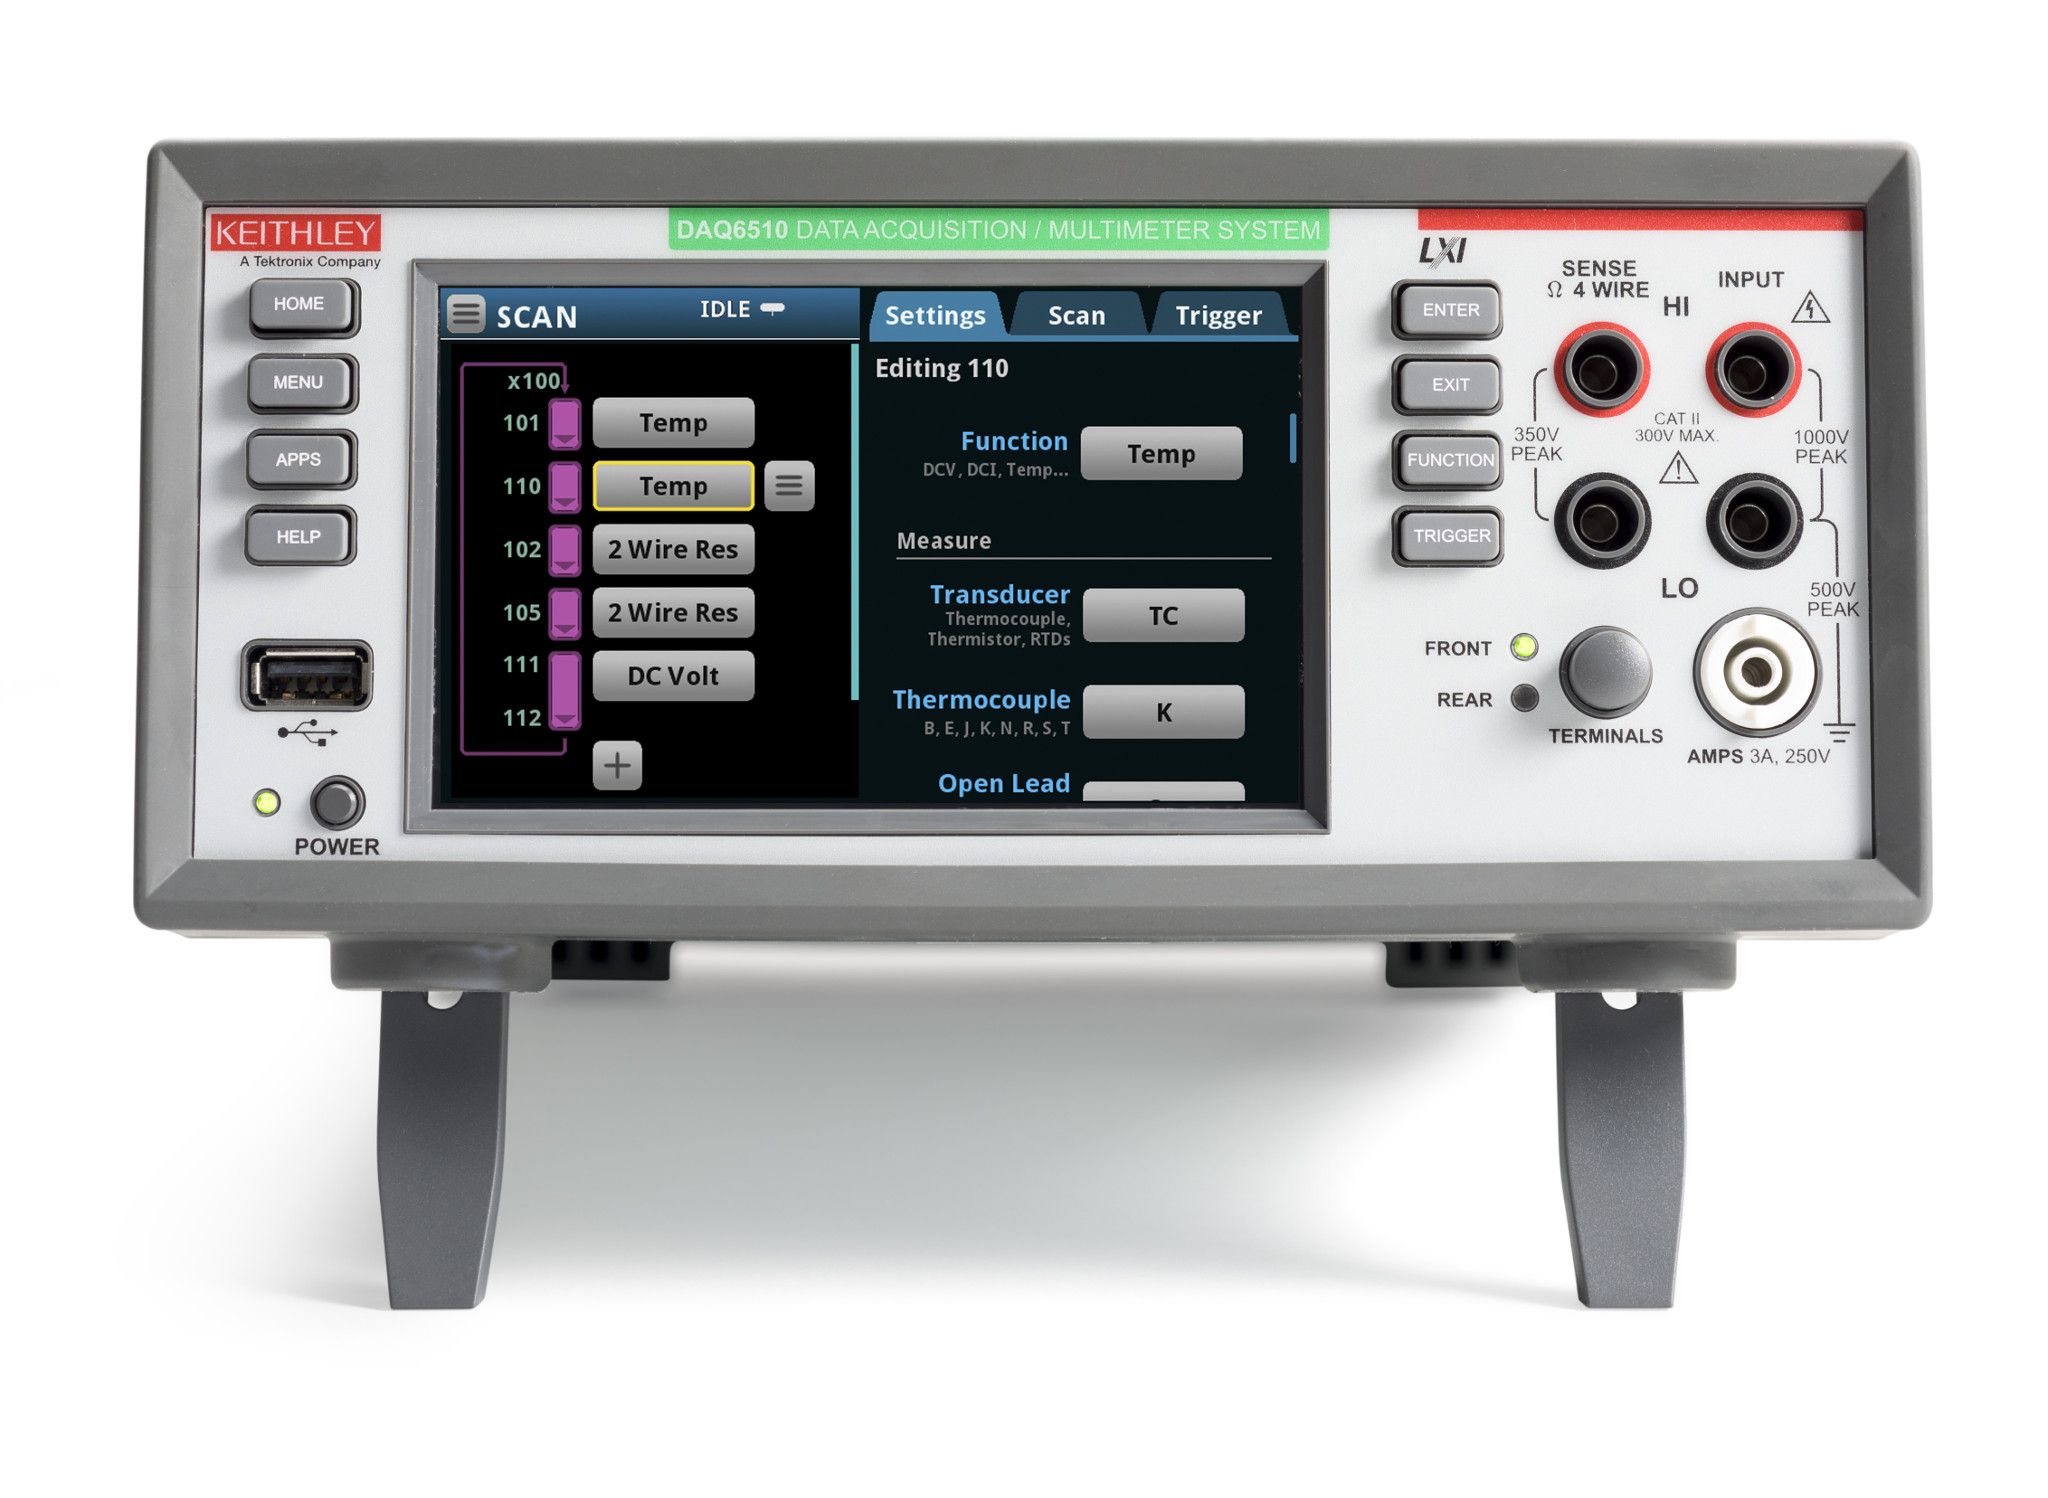
10チャンネルを超えるマルチチャンネル測定が必要な場合は、当社のスイッチングおよびデータ収集システムをご覧ください。
Also consider Keithley Source Measure Unit (SMU) instruments, with integrated digital multimeter, power supply, current source, and electronic load capabilities.
キースレー製デジタルマルチメーター(DMM)の利点
Keithleyの卓上型デジタルマルチメーターには、以下のような優れた性能上の利点があります。
- 5.5桁から7.5桁の分解能を持つデジタルマルチメータ
- 機器校正実験室用7.5桁DMMによる9ppmの基本電圧測定精度
- 高速の1 MS/sサンプリング速度で、IoTデバイスやその他ワイヤレス・デバイスの複雑、低レベルの電流プロフィールを取り込む
- 1µΩ/1pA感度による低電力デバイスのリサーチ、デザイン、製造テスト
- DC/AC電圧、DC/AC電流、2線/4線式の抵抗、導通、周波数、周期、RTD/サーミスタ/熱電対の温度、ダイオード機能、キャパシタンスなど広範な測定機能
- データ収集、自動テスト用のLAN/LXI、USB-TMC、GPIB、RS-232など、豊富なインタフェース・オプション
- PCとの最小のやりとりで独自のテスト、測定が実行可能
- 最大10チャンネルまで測定拡張可能
デジタルマルチメーター入門:包括的なガイド
デジタルマルチメーター(DMMという愛称で親しまれている)は、電子機器の分野で働く人にとって欠かせないツールである。これは、電圧、電流、抵抗など、さまざまな電気的パラメータを定量化できる多用途な測定器として機能します。あなたがベテランのプロであろうと、これから電子機器の世界に足を踏み入れようとしている初心者であろうと、デジタルマルチメーター(DMM)の複雑な仕組みを理解することは、電子機器の世界を正確かつ自信を持って探求していく上で非常に重要です。
デジタル・マルチメータとは?
卓上型デジタルマルチメーターは、電圧、電流、抵抗などの電気的刺激を測定する。これは電気・電子技術者が日常的に使用する診断ツールであり、電圧計、電流計、抵抗計の機能を兼ね備えています。
デジタルマルチメータは何に使われるのですか?
DMMの一般的な用途をいくつかご紹介します。
-
トラブルシューティング:デジタルマルチメータ(DMM)は、回路、部品、および機器における電気的な故障を特定し、解決する上で非常に重要な役割を果たします。
-
部品テスト:デジタルマルチメータ(DMM)は、個々の部品の電気的特性を測定し、必要な仕様を満たしていることを確認できます。
-
回路テスト:デジタルマルチメータ(DMM)は、電子回路が正しく動作していることを確認し、期待される電圧と電流が出力されていることを確認するために使用されます。
-
バッテリーテスト:デジタルマルチメーター(DMM)は、バッテリーの電圧と電流出力を測定し、バッテリーの状態と性能を評価できます。
適切なデジタルマルチメーターの選び方
市場には数多くのデジタルマルチメーター(DMM)が出回っているため、自分のニーズに最適なものを選ぶのは容易ではない。十分な情報に基づいた意思決定を行うために、以下の要素を考慮してください。
-
測定精度:デジタルマルチメータ(DMM)の精度は、特に精密な測定が不可欠な用途において非常に重要です。精度仕様の高いデジタルマルチメータ(DMM)を探しましょう。精度仕様は、不確かさのパーセンテージ値が低いことで示されます。
-
測定範囲:測定範囲は、デジタルマルチメータ(DMM)が測定できる値の範囲を決定します。DMMの測定範囲が、アプリケーションで通常遭遇する値を網羅していることを確認してください。
-
特長と機能:デジタルマルチメータ(DMM)は、データロギング、真の実効値測定、相対モードなど、さまざまな特長と機能を提供します。ご自身の具体的な要件に合った機能を備えたデジタルマルチメータ(DMM)をお選びください。
-
安全評価:電気機器を取り扱う際には、安全性が最優先事項です。選択するデジタルマルチメータ(DMM)が、想定される用途における安全基準を満たしていることを確認してください。
デジタルマルチメーター(DMM)の選定基準や仕様に関するより詳細な情報については、弊社のデジタルマルチメーター選定ガイドをご参照ください。
デジタル・マルチメータに関する参考資料
Digital multimeter FAQs
How do digital multimeters work?
Digital multimeters attach to probes, leads, or clamps, which are connected to an electronic device. They then measure the device's voltage, current, or resistance and use an analog to digital converter to present a value on the display.
How do you use a benchtop multimeter?
Here's a step-by-step guide on how to use a digital multimeter:
1. Familiarize Yourself with the Multimeter: Before starting, take some time to familiarize yourself with the different parts of the multimeter, including the display, function selector knob, range selector knob, test leads, COM (common) terminal, and measuring terminal.
2. Choose the Measurement Type: Decide on the type of measurement you want to perform, such as voltage, current, or resistance. This will guide you in setting the function selector knob to the appropriate position (V, A, or Ω).
3. Select the Measurement Range: Estimate the approximate value of the parameter you're measuring. Set the range selector knob to a range that encompasses this value. Start with a higher range and gradually decrease it until you get a stable reading on the display.
4. Connect the Test Leads: Connect the black test lead to the COM terminal on the multimeter. Connect the red test lead to the appropriate measuring terminal based on the measurement type:
- Voltage: Red lead to the positive terminal of the circuit or component.
- Current: Red lead in series with the circuit element where you want to measure the current.
- Resistance: Red lead to one terminal of the resistor, black lead to the other terminal.
5. Turn on the Multimeter: Press the power button to turn on the multimeter.
6. Touch the Probe Tips: Carefully touch the probe tips of the test leads to the appropriate points on the circuit or component being measured. Ensure proper contact and avoid touching any other conductors or yourself.
7. Observe the Reading: Observe the displayed reading on the multimeter. The value will indicate the measurement of the parameter you selected.
8. Interpret the Reading: Pay attention to the units displayed along with the reading (V, A, or Ω). For voltage measurements, consider the polarity: positive for red lead on positive terminal, negative for red lead on negative terminal.
9. Disconnect the Test Leads: Once the measurement is complete, remove the test leads from the circuit or component.
How to read a digital multimeter?
Reading a digital multimeter involves understanding the different parts of the meter and how they work together to provide electrical measurements. Here's a step-by-step guide on how to read a digital multimeter:
1. Identify the Components:
A digital multimeter typically consists of the following components:
-
Display: The screen where the measurement readings are displayed.
-
Function Selector Knob: A dial or switch used to select the type of measurement you want to make, such as voltage, current, or resistance.
-
Range Selector Knob: A dial or switch used to select the range of values the meter can measure.
-
Test Leads: Two wires with probes at the ends, used to connect the meter to the circuit or component being measured.
-
Common Terminal (COM): The black test lead is typically connected to this terminal, which serves as the reference point for the measurements.
-
Measuring Terminal: The red test lead is typically connected to this terminal, which is used to make the actual measurement.
2. Connect the Test Leads:
-
Connect the black test lead to the COM terminal on the multimeter.
-
Connect the red test lead to the appropriate measuring terminal, depending on the type of measurement you want to make:
*For voltage measurements, connect the red lead to the positive terminal of the circuit or component.
*For current measurements, connect the red lead in series with the circuit element where you want to measure the current.
*For resistance measurements, connect the red lead to one terminal of the resistor and the black lead to the other terminal.
3. Set the Function Selector Knob:
Rotate the function selector knob to the desired measurement type, such as voltage (V), current (A), or resistance (Ω).
4. Set the Range Selector Knob:
Choose the appropriate measurement range based on the expected value of the parameter you are measuring. Start with a higher range and gradually decrease it until you get a stable reading on the display.
5. Take the Measurement:
-
Touch the probe tips of the test leads to the appropriate points on the circuit or component being measured.
-
Observe the reading on the display. The reading will indicate the value of the parameter you are measuring.
6. Interpret the Reading:
-
Pay attention to the units displayed along with the reading, such as volts (V) for voltage, amps (A) for current, and ohms (Ω) for resistance.
-
Consider the polarity for voltage measurements. A positive reading indicates that the red test lead is connected to the positive terminal, while a negative reading indicates that it is connected to the negative terminal.
7. Disconnect the Test Leads:
Once the measurement is complete, disconnect the test leads from the circuit or component.
What's the difference between handheld and benchtop digital multimeters?
Handheld digital multimeters, like those manufactured by Fluke, are used by electricians, electrical contractors and HVAC specialists to make measurements and troubleshoot potentially hazardous systems in the field. Benchtop multimeters, like those made by Keithley, are instruments used by electrical and electronic engineers to perform more advanced measurements and gain confidence in their designs. These instruments are extremely precise and have a variety of advanced functionality, including the ability to program automation, slow or speed up measurements to observe low-level or transient signal behavior, and interface with other instruments.
Can Keithley digital multimeters be rack mounted?
Yes, Keithley digital multimeters can be rack mounted with the appropriate kit.
What are the safety precautions when using a digital multimeter?
When using a digital multimeter, it is important to follow safety precautions to avoid electrical hazards:
-
Always read the user manual carefully before using the DMM.
-
Always use the appropriate voltage and current ranges for the circuit you are measuring.
-
Never touch exposed wires or components while the DMM is connected to a circuit.
-
Always work in a well-lit and ventilated area.
-
Wear proper personal protective equipment (PPE), such as safety glasses and gloves, when working with electrical circuits.
-
Never use a DMM that is damaged or malfunctioning.